
Changing your car oil at home can be a rewarding task that saves you money and gives you a sense of accomplishment. Imagine the satisfaction of knowing you’ve taken care of your car with your own hands.
You don’t have to rely on expensive mechanics; with a little guidance, you can do it yourself. This guide will walk you through each step, ensuring you feel confident and prepared. You’ll learn tips and tricks that make the process smooth and easy.
Dive in, and discover how straightforward and fulfilling a DIY oil change can be. The road to self-sufficiency starts here, and you’re in the driver’s seat.
Credit: www.caranddriver.com
Essential Tools And Materials
Changing your car oil at home saves money and teaches car care. This task requires specific tools and materials for safety and efficiency. Knowing what you need beforehand simplifies the process.
Gathering Supplies
Start with a sturdy jack and jack stands. These ensure your car stays elevated safely. A drain pan collects old oil without mess. Use a wrench to loosen the oil plug. An oil filter wrench is necessary for removing the oil filter. Keep rags handy for cleaning spills and hands.
Purchase a new oil filter and oil that suits your car. A funnel helps pour new oil without spills. An old towel or cardboard protects your driveway from stains.
Choosing The Right Oil
Check your car’s manual for oil type recommendations. Consider the climate you live in. Cold weather requires different oil than hot weather. Synthetic oils often provide better protection. They tend to last longer too.
Look for oil with the right viscosity. Viscosity affects engine performance and efficiency. Choose the oil that meets your driving needs. It ensures your engine runs smoothly.
Preparing Your Vehicle
Preparing your vehicle is the first step in a successful DIY oil change. Getting everything ready ensures a smooth process. Start by gathering your tools and materials. You will need a wrench, oil filter, new oil, and a drain pan. Organize them within reach to save time during the process.
Safety Precautions
Safety comes first. Ensure your car is on a flat surface. This prevents the car from rolling. Use wheel chocks for extra stability. Wearing gloves protects your hands from oil and grime. Safety goggles shield your eyes from splashes. Always let the engine cool before starting. Hot oil can cause burns.
Locating The Oil Drain Plug
Find the oil drain plug beneath your vehicle. It’s usually located under the engine. Consult your car’s manual if unsure. Use a flashlight for better visibility. The plug is typically a large bolt. Make sure you have the right wrench size. Position your drain pan under the plug before loosening. This captures the old oil when it drains.
Draining The Old Oil
Begin by placing an oil pan under the car’s oil drain plug. Loosen the plug to allow old oil to flow out completely, ensuring proper disposal to protect the environment.
Draining the old oil from your car is a crucial step in performing a DIY oil change. This task might seem daunting at first, but with the right guidance, you can handle it efficiently. Proper drainage ensures that your engine remains free from old residues, giving your car a fresh start with new oil. Let’s dive into the specific steps of draining the old oil, focusing on positioning the oil pan and removing the drain plug.
Positioning The Oil Pan
Before you begin, ensure your car is parked on a level surface and the engine is cool. A hot engine can cause burns, and uneven surfaces might lead to spills. Place the oil pan directly under the drain plug. If you’re unsure where the drain plug is located, consult your car’s manual. It’s usually at the lowest point of the oil pan. Align the oil pan to catch every drop. It’s a simple step, but it can save you from a messy cleanup. Have you ever had oil spill on your garage floor? It’s no fun to clean up!
Removing The Drain Plug
With the oil pan in place, grab your wrench to loosen the drain plug. Turn it counterclockwise until it’s loose enough to be removed by hand. Be ready for a rush of oil once you take out the plug. The old oil can flow quickly, so ensure your pan is well-positioned. Avoid dropping the plug into the oil pan. Keep a firm grip, and set it aside once it’s removed. Do you have a magnetic tray? It’s perfect for holding metal parts like the drain plug. Remember, this process doesn’t just drain old oil; it also helps you inspect for any metallic particles or unusual debris. Seeing something unusual? It might be time to consult a mechanic.
Replacing The Oil Filter
Changing the oil filter is key in a DIY oil change. Remove the old filter carefully. Install the new one securely. Ensure it’s tight to avoid leaks. Always check for oil spills after replacing the filter. This simple task keeps your engine running smoothly.
Changing your car’s oil is a rewarding and cost-effective task, but it’s not complete without replacing the oil filter. This small, yet crucial component ensures that your engine oil remains free of debris. Ignoring the filter can lead to serious engine damage over time. Let’s dive into the simple steps of replacing your oil filter to keep your engine running smoothly.
Removing The Old Filter
Begin by locating the oil filter, which is usually a cylindrical component attached to the engine block. You might need an oil filter wrench if it’s tightly screwed on. Loosen the filter by turning it counterclockwise. Be prepared for some oil spillage, so have an oil catch pan ready. It’s a good idea to wear gloves to keep your hands clean. Once it’s loose, remove it completely and place it on the catch pan. Inspect the area to ensure the rubber gasket from the old filter isn’t stuck on the engine. Leaving it there can prevent the new filter from sealing correctly.
Installing The New Filter
Before installing the new filter, apply a thin layer of fresh oil to the rubber gasket. This helps create a better seal and makes it easier to remove during the next oil change. Screw the new filter onto the engine by hand, turning clockwise. It’s important not to overtighten the filter. Aim for a snug fit, typically a quarter-turn past hand-tight. Double-check that the filter is secure. A loose filter can cause oil leaks, which can lead to engine damage if not addressed. You’re now one step closer to completing your DIY oil change. Doesn’t it feel great to know your car is in capable hands—yours?
Adding New Oil
Adding new oil to your car might sound simple, but getting it right is crucial for your vehicle’s performance. Whether you’re a seasoned DIY enthusiast or a first-time oil changer, pouring new oil into your car is the final step that requires precision. This part of the process ensures your engine stays lubricated and runs smoothly. Let’s break down the essentials to make this step as straightforward and effective as possible.
Selecting The Right Amount
Before you pour, it’s essential to know how much oil your engine needs. Check your car’s manual or look online for your specific model. It’s like baking a cake; too much or too little can throw off the entire recipe. Most cars have a specific oil capacity listed. A simple online search can quickly guide you to this information if you can’t find your manual.
A personal tip: I always keep an extra quart of oil handy. It’s better to have a bit more than not enough, especially when dealing with older vehicles that might burn oil faster. What’s your backup plan if you pour too much or too little?
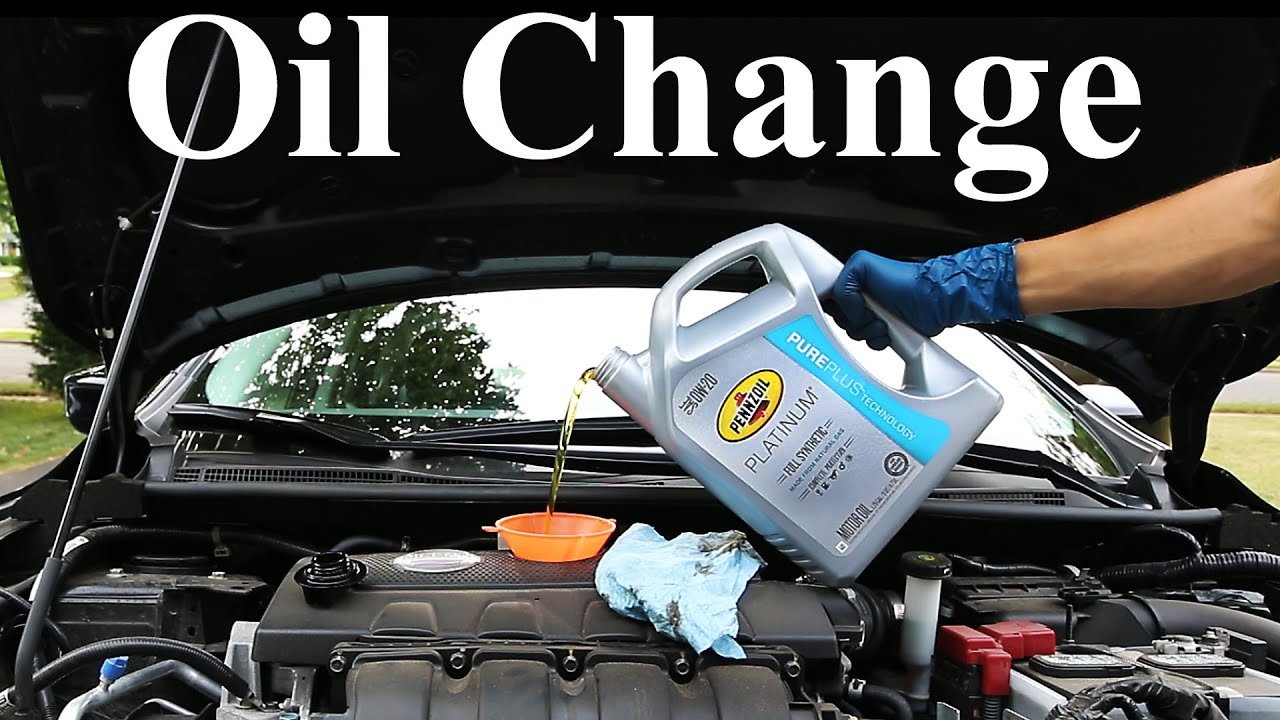
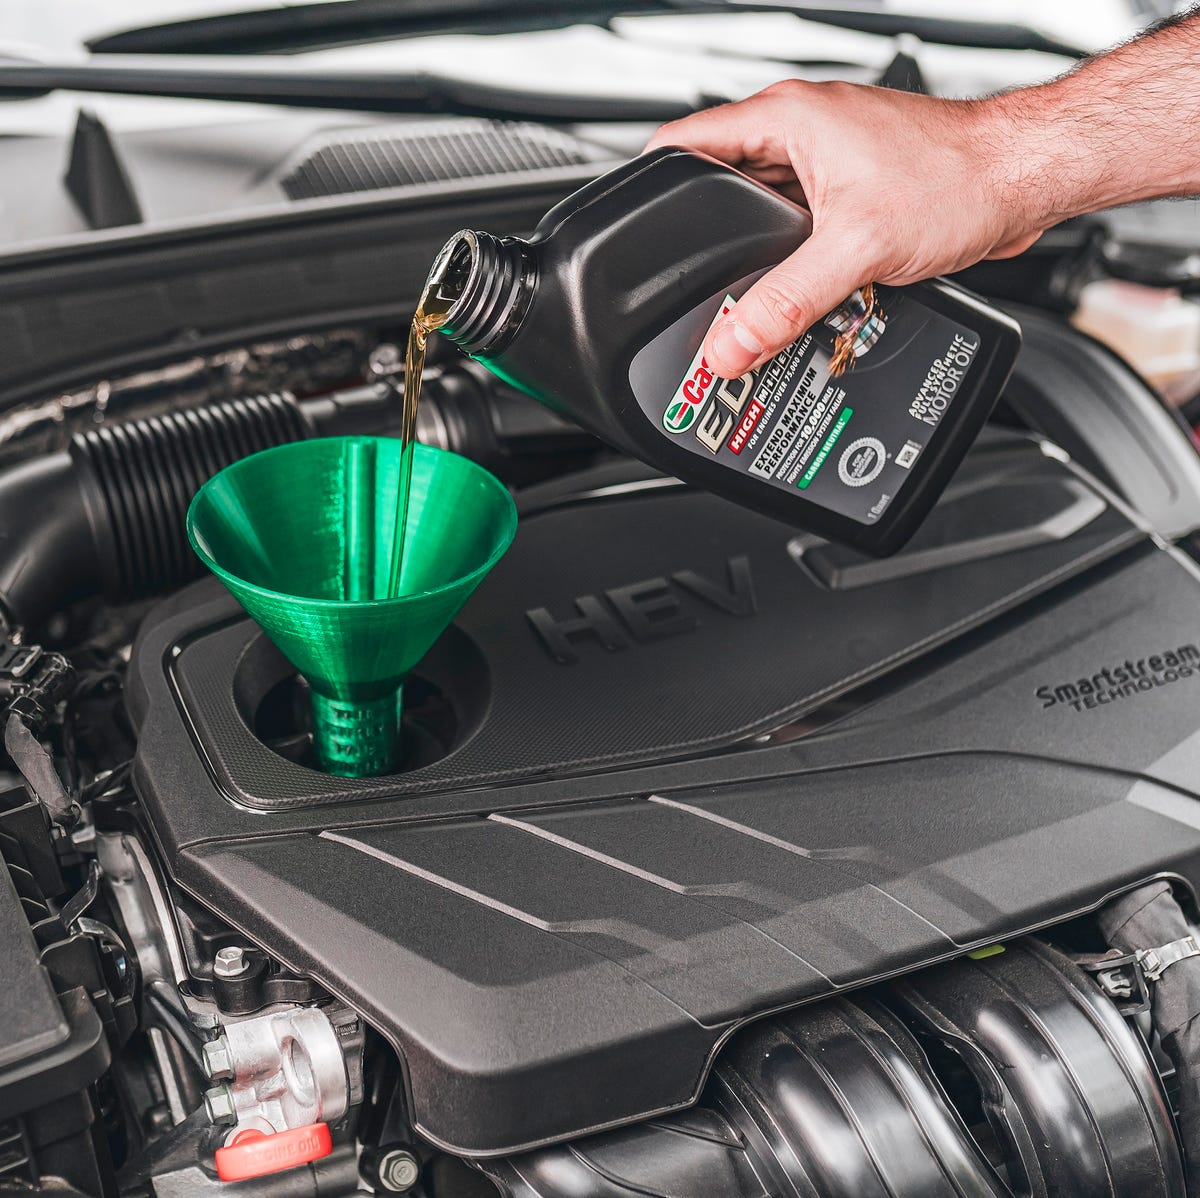
Pouring Oil Carefully
Pouring oil is not just a matter of dumping it in; it requires a steady hand and patience. Use a funnel to avoid spills. It’s a lifesaver, especially when you’re in a hurry or working in a tight space. Pour slowly to allow the oil to settle and prevent air bubbles.
Remember, the first time I changed my car oil, I poured too quickly and ended up with oil everywhere. A funnel wasn’t just a helpful tool; it was my saving grace. Do you have one in your toolkit?
After pouring, check the oil level with the dipstick to ensure you’ve added the correct amount. Wipe it clean, dip it in, and check the level against the marked lines. This small step can prevent future headaches and keeps your engine running smoothly.
Taking the time to add new oil carefully can extend your engine’s life and improve your car’s performance. Are you ready to give it a try?
Checking For Leaks
Changing your car oil at home can be rewarding. Checking for leaks is crucial. Leaks can lead to engine problems. Ensure your car runs smoothly by following these steps.
Inspecting The Drain Plug
Start by inspecting the drain plug. Make sure it’s tightly secured. Use a wrench if needed. Check for any oil drips around it. A loose plug can cause leaks. Replace the gasket if it looks worn. This ensures a snug fit.
Testing The Oil Filter
Next, test the oil filter. Ensure it’s properly installed. Look for oil around the filter base. A faulty seal can lead to leaks. Tighten the filter using your hand. Do not overtighten. Check the filter’s rubber gasket. Replace it if it’s cracked.
Disposing Of Old Oil
Changing your car oil at home is a rewarding task. But disposing of old oil is crucial. Proper disposal protects the environment and keeps you compliant with regulations. Let’s explore how to handle used oil responsibly.
Environmental Considerations
Used oil is hazardous to the environment. Dumping it can pollute soil and water sources. Recycling helps keep our planet clean. It prevents toxic substances from entering ecosystems. Handle old oil with care to avoid spills. Use a sealable container for storage. This ensures no leakage during transportation.
Where To Take Used Oil
Many places accept used oil for recycling. Auto shops often have collection centers. Some gas stations provide disposal services. Check with your local waste management facility. They might offer drop-off locations. Retailers selling motor oil sometimes accept used oil. Call ahead to confirm their policies.
Maintaining Your Vehicle
Maintaining your vehicle is crucial not just for your car’s longevity but also for your safety on the road. Regular upkeep helps prevent unexpected breakdowns and costly repairs. One of the simplest yet most effective ways to maintain your car is by changing its oil regularly. With a little know-how, you can easily do this at home.
Setting A Regular Schedule
Creating a routine for oil changes is essential. It ensures your engine runs smoothly and efficiently. Most car manufacturers recommend changing the oil every 3,000 to 5,000 miles.
Think about how often you drive. If you’re a daily commuter, you might need to change the oil more frequently. Set reminders on your phone or calendar to keep on track.
Consider the climate you live in. Extreme weather conditions can affect oil performance. Adjust your schedule accordingly to keep your engine in tip-top shape.
Monitoring Oil Levels
Keeping an eye on your oil levels helps prevent engine damage. Check your oil levels once a month. It’s quick and easy.
Pop the hood and locate the dipstick. Pull it out and wipe it clean. Then, reinsert and remove it again to get an accurate reading.
Notice if the oil is below the recommended level or looks dirty. If so, it might be time for a change. What would happen if you never checked your oil? A simple oversight can lead to serious consequences.
Remember, maintaining your vehicle doesn’t have to be a chore. With a regular schedule and vigilant monitoring, you can ensure your car runs smoothly for years to come. Why not start today?
Frequently Asked Questions
How Often Should I Change Car Oil At Home?
Changing your car oil every 3,000 to 5,000 miles is recommended. Check your owner’s manual for specific intervals. Regular oil changes ensure your engine runs smoothly and efficiently. DIY oil changes can save you money and time, but always use high-quality oil and filters.
What Tools Are Needed For A Diy Oil Change?
For a DIY oil change, you need a wrench, oil catch pan, and funnel. You’ll also need an oil filter wrench and new oil. Ensure you have gloves and rags to keep clean. A car jack can help access the oil pan easily.
Can I Use Synthetic Oil In My Car?
Yes, synthetic oil can be used in most cars. It’s known for better performance and longer intervals between changes. However, always check your car’s manual first. Synthetic oil is more expensive but offers better protection and efficiency.
How Do I Dispose Of Old Car Oil?
Dispose of old car oil by taking it to a recycling center. Many auto shops offer disposal services. Never pour oil down drains or on the ground. Proper disposal helps protect the environment and keeps your workspace clean.
Conclusion
Changing your car oil at home is simple and rewarding. You save money. Gain confidence. And ensure your car runs smoothly. With basic tools, anyone can do it. Remember to follow each step carefully. Always dispose of old oil responsibly.
This routine maintenance keeps your engine healthy. Plus, it extends your car’s life. So, roll up your sleeves and enjoy the process. A little effort goes a long way. Happy driving with your fresh oil change!