

Are you looking to elevate your Jeep Cherokee 2 to the next level of off-road adventure? Installing a light bar is one of the simplest yet most impactful upgrades you can make.
Imagine navigating through trails with enhanced visibility, turning night drives into exhilarating experiences. In this guide, you’ll discover just how easy it is to install a light bar on your Jeep Cherokee 2. Whether you’re a seasoned DIY enthusiast or a beginner, you’ll find this process straightforward and rewarding.
Get ready to transform your Jeep and enjoy safer, more thrilling adventures. Stick around to learn everything you need to know to get started!
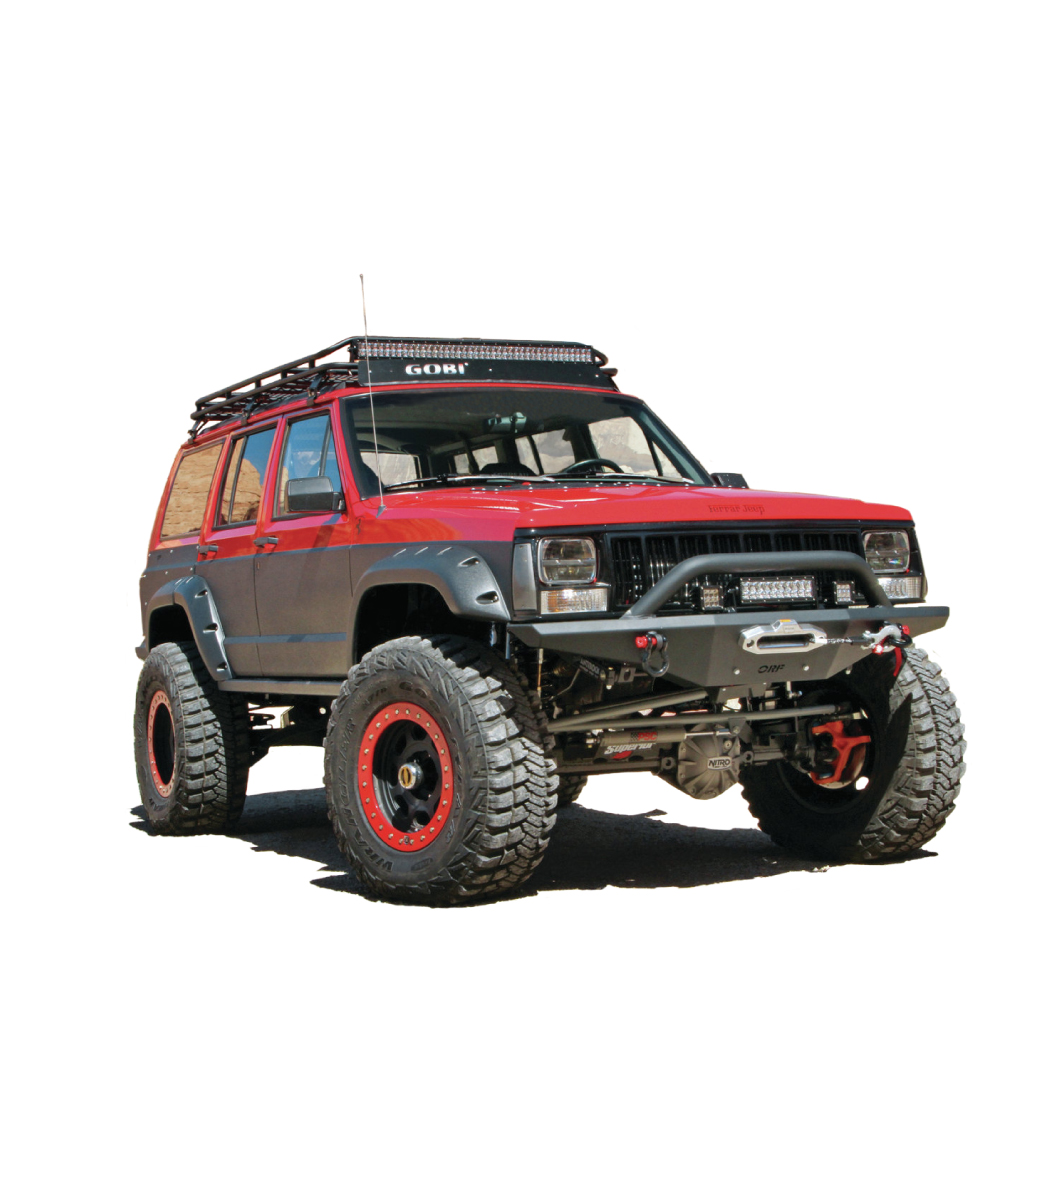
Credit: gobiracks.com
Tools And Materials Needed
Install a light bar on your Jeep Cherokee with basic tools. Gather a wrench, screwdriver, and drill. You’ll also need mounting brackets, wiring harness, and connectors for a smooth installation process.
Installing a light bar on your Jeep Cherokee 2 can dramatically enhance your off-road experience, but first, you need to gather the right tools and materials. Without the proper equipment, you might find yourself frustrated or even cause damage to your vehicle. Having everything prepared and at your fingertips will make the installation process smooth and enjoyable.Basic Tools
Start with gathering basic tools that are essential for the installation. You’ll need a screwdriver set for loosening and tightening screws. A wrench set is crucial for handling bolts of various sizes you might encounter. Having a drill with metal drill bits is also necessary if you need to make any new holes for mounting.Electrical Tools
Working with electrical components requires some specialized tools. A wire stripper is a must-have for preparing wires for connections. You’ll also need a multimeter to check electrical connections and ensure everything is working correctly. Don’t forget electrical tape or heat shrink tubing to secure your connections and prevent any short circuits.Mounting Accessories
Securely mounting your light bar is critical. Mounting brackets specific to your Jeep Cherokee 2 will ensure a snug fit. You’ll also need bolts and nuts that match the specifications of your brackets. Including some rubber gaskets can help reduce vibrations while driving, offering a stable setup for your light bar.Wiring Materials
The wiring setup is crucial for a safe and efficient installation. Begin with a wiring harness that matches the wattage of your light bar. Ensure you have enough gauge wire to reach from the light bar to your Jeep’s battery. A relay switch and fuse holder are essential to protect your electrical system from overloads.Personal Safety Gear
Safety should always be a priority. Use a pair of safety goggles to protect your eyes from metal shavings when drilling. Wear work gloves to prevent cuts and scrapes. Having a headlamp can be extremely useful for hands-free lighting, especially if you’re working in a dim garage or at night.Installation Space
Choose a spacious and well-lit area for your installation. Having enough room to move around your Jeep will make the process much easier. Ensure the surface is flat and stable to avoid any mishaps. A garage or driveway is ideal, but any area with enough room and lighting will do. Are you ready to transform your Jeep Cherokee 2 with a dazzling light bar? What tools do you have on hand, and what do you still need to gather? Taking the time to prepare can save you hours of hassle down the road.
Credit: www.amazon.com
Preparation And Safety Measures
Installing a light bar on your Jeep Cherokee 2 can enhance your off-road experience. But before you dive into the installation, focus on preparation and safety. These initial steps are crucial. They ensure a smooth installation process. Let’s dive into the necessary preparation and safety measures.
Gather Your Tools And Materials
First, collect all the necessary tools. You will need a drill, screwdriver, and wrench. Also, ensure you have the light bar kit with all its components. Check the instructions in the kit. It helps to know what each part is for. Missing tools or parts can delay your project.
Disconnect The Battery
Safety is a priority. Disconnect the battery before starting. This prevents accidental electric shocks. It also protects your Jeep’s electrical system. Use a wrench to loosen the battery terminals. Ensure they are completely disconnected.
Find A Safe Workspace
Choose a safe and well-lit area to work. A garage or driveway is ideal. Ensure your Jeep is parked on a flat surface. Use wheel chocks for added stability. This minimizes the risk of movement during installation.
Wear Protective Gear
Always wear protective gear. Safety glasses and gloves are essential. They protect against sharp tools and debris. Proper gear reduces injury risks. Safety should never be compromised.
Read The Instructions Thoroughly
Before beginning, read the light bar instructions carefully. Understanding the steps helps avoid mistakes. It also saves time during installation. Each light bar may have unique installation steps. Pay attention to any specific requirements.
Choosing The Right Light Bar
Installing a light bar on your Jeep Cherokee 2 can enhance visibility. Choosing the right light bar is crucial for optimal performance and aesthetics. This decision involves considering several factors that suit your specific needs.
Brightness And Beam Pattern
Consider the brightness level of the light bar. Lumens determine how bright the light is. A higher lumen count means brighter lights. Decide on the beam pattern too. Spot beams offer focused lighting. Flood beams spread light over a wider area. Combo beams provide both options.
Size And Fit
Ensure the light bar fits your Jeep Cherokee 2. Measure the area where you plan to install. A light bar that’s too big or too small can affect performance. Check the mounting brackets for compatibility. Proper fit ensures stability during off-road adventures.
Durability And Material
Choose a light bar made from durable materials. Aluminum housings resist corrosion. Polycarbonate lenses withstand impact. Look for waterproof ratings like IP67 or IP68. This ensures the light bar can handle harsh weather.
Power Consumption
Check the power consumption of the light bar. High power can drain your battery quickly. Opt for LED lights for energy efficiency. They provide bright light while using less power. This helps maintain your vehicle’s battery life.
Price And Warranty
Consider your budget when selecting a light bar. Prices vary based on features and quality. Look for warranties that provide security. A warranty ensures protection against defects or failure. Choose a light bar that offers value for money.
Locating Mounting Points
Installing a light bar on your Jeep Cherokee 2 can transform your night driving experience, but the key to a successful installation lies in finding the right mounting points. This step is crucial to ensure stability and optimal lighting. You don’t want to end up with a shaky light bar that doesn’t illuminate the road effectively. Let’s dive into locating the ideal spots for mounting your light bar.
Understanding Your Jeep’s Structure
Begin by familiarizing yourself with the structure of your Jeep Cherokee 2. Take a good look at the front bumper and the roof. These are the most common areas for mounting light bars. Each spot offers different lighting angles and stability. Have you checked if your vehicle has factory-installed mounts? They can save you a lot of time and effort.
Choosing Between Roof And Bumper Mounts
Consider what works best for you: roof or bumper mounts. Roof mounts provide a wider range of light spread, perfect for off-road adventures. On the other hand, bumper mounts offer a more focused beam, ideal for highway driving. Which of these locations suits your driving style? Decide based on your needs and the terrain you usually tackle.
Inspecting For Pre-drilled Holes
Check for pre-drilled holes or existing mounts on your Jeep. These holes can make the installation process much simpler. They are usually found on the roof rail or bumper. If you spot them, you’re in luck! Using these points ensures a secure fit and saves you from drilling new ones.
Ensuring Stability And Alignment
Once you’ve located potential mounting points, think about stability and alignment. Your light bar should be securely fastened to avoid any movement during drives. Misalignment can lead to ineffective lighting, missing critical spots on the road. Double-check the alignment before finalizing the installation.
Remember, the right mounting points can make all the difference in your lighting experience. Have you ever wondered why some light bars shine brighter and steadier than others? It often boils down to how well they are mounted. Choose wisely and enjoy your enhanced driving experience!
Wiring And Electrical Connections
Installing a light bar on a Jeep Cherokee 2 involves connecting wires to the vehicle’s electrical system. Begin by mounting the light bar securely, then identify and attach the correct wires for power and ground. Ensure connections are tight and insulated to prevent short circuits and ensure safe operation.
Installing a light bar on your Jeep Cherokee 2 can elevate your off-road adventures, but getting the wiring and electrical connections right is crucial. This part of the installation can be daunting if you’re not familiar with your vehicle’s electrical system. Yet, with some guidance, you can master this task and enjoy the benefits of enhanced visibility. Let’s break it down into simple steps, focusing on understanding your Jeep’s electrical system and connecting the light bar efficiently.Understanding Jeep Cherokee’s Electrical System
Before you start connecting wires, it’s essential to get a grip on your Jeep Cherokee’s electrical system. Your Jeep’s battery and fuse box are central to this process. The battery provides power, while the fuse box protects the system from overload. Have you checked the owner’s manual? It’s a treasure trove of information. You’ll find details about the location of the fuse box and the types of fuses your Jeep uses. This knowledge is vital for a smooth installation. Consider the wiring diagram too. It shows how electrical components are interconnected. Understanding this will help you identify where to make connections without disrupting existing systems.Connecting The Light Bar
Once you grasp the electrical system, it’s time to connect the light bar. Start by gathering all necessary tools, such as wire strippers, connectors, and electrical tape. These will make the job easier and safer. Identify a suitable location for your light bar switch inside the Jeep. Think about convenience and accessibility. Once decided, run a wire from this location to the battery, ensuring it doesn’t snag on any moving parts. Safety is paramount. Always use a relay between the light bar and the battery. This not only protects the wiring but also ensures the switch inside the cabin only handles low power. It’s a small step that can prevent big problems. Connect the positive wire from the light bar to the relay, and then to the battery. Ensure all connections are tight and secure. Loose connections can lead to flickering lights or, worse, electrical shorts. Finally, test the setup. Turn on your vehicle and activate the light bar switch. Does it light up as expected? If everything is in place, you’re ready to hit the trails with better visibility. Taking the time to understand and correctly wire your light bar not only enhances your Jeep’s functionality but also gives you peace of mind on your adventures. Have you considered how this upgrade might change your off-road experience?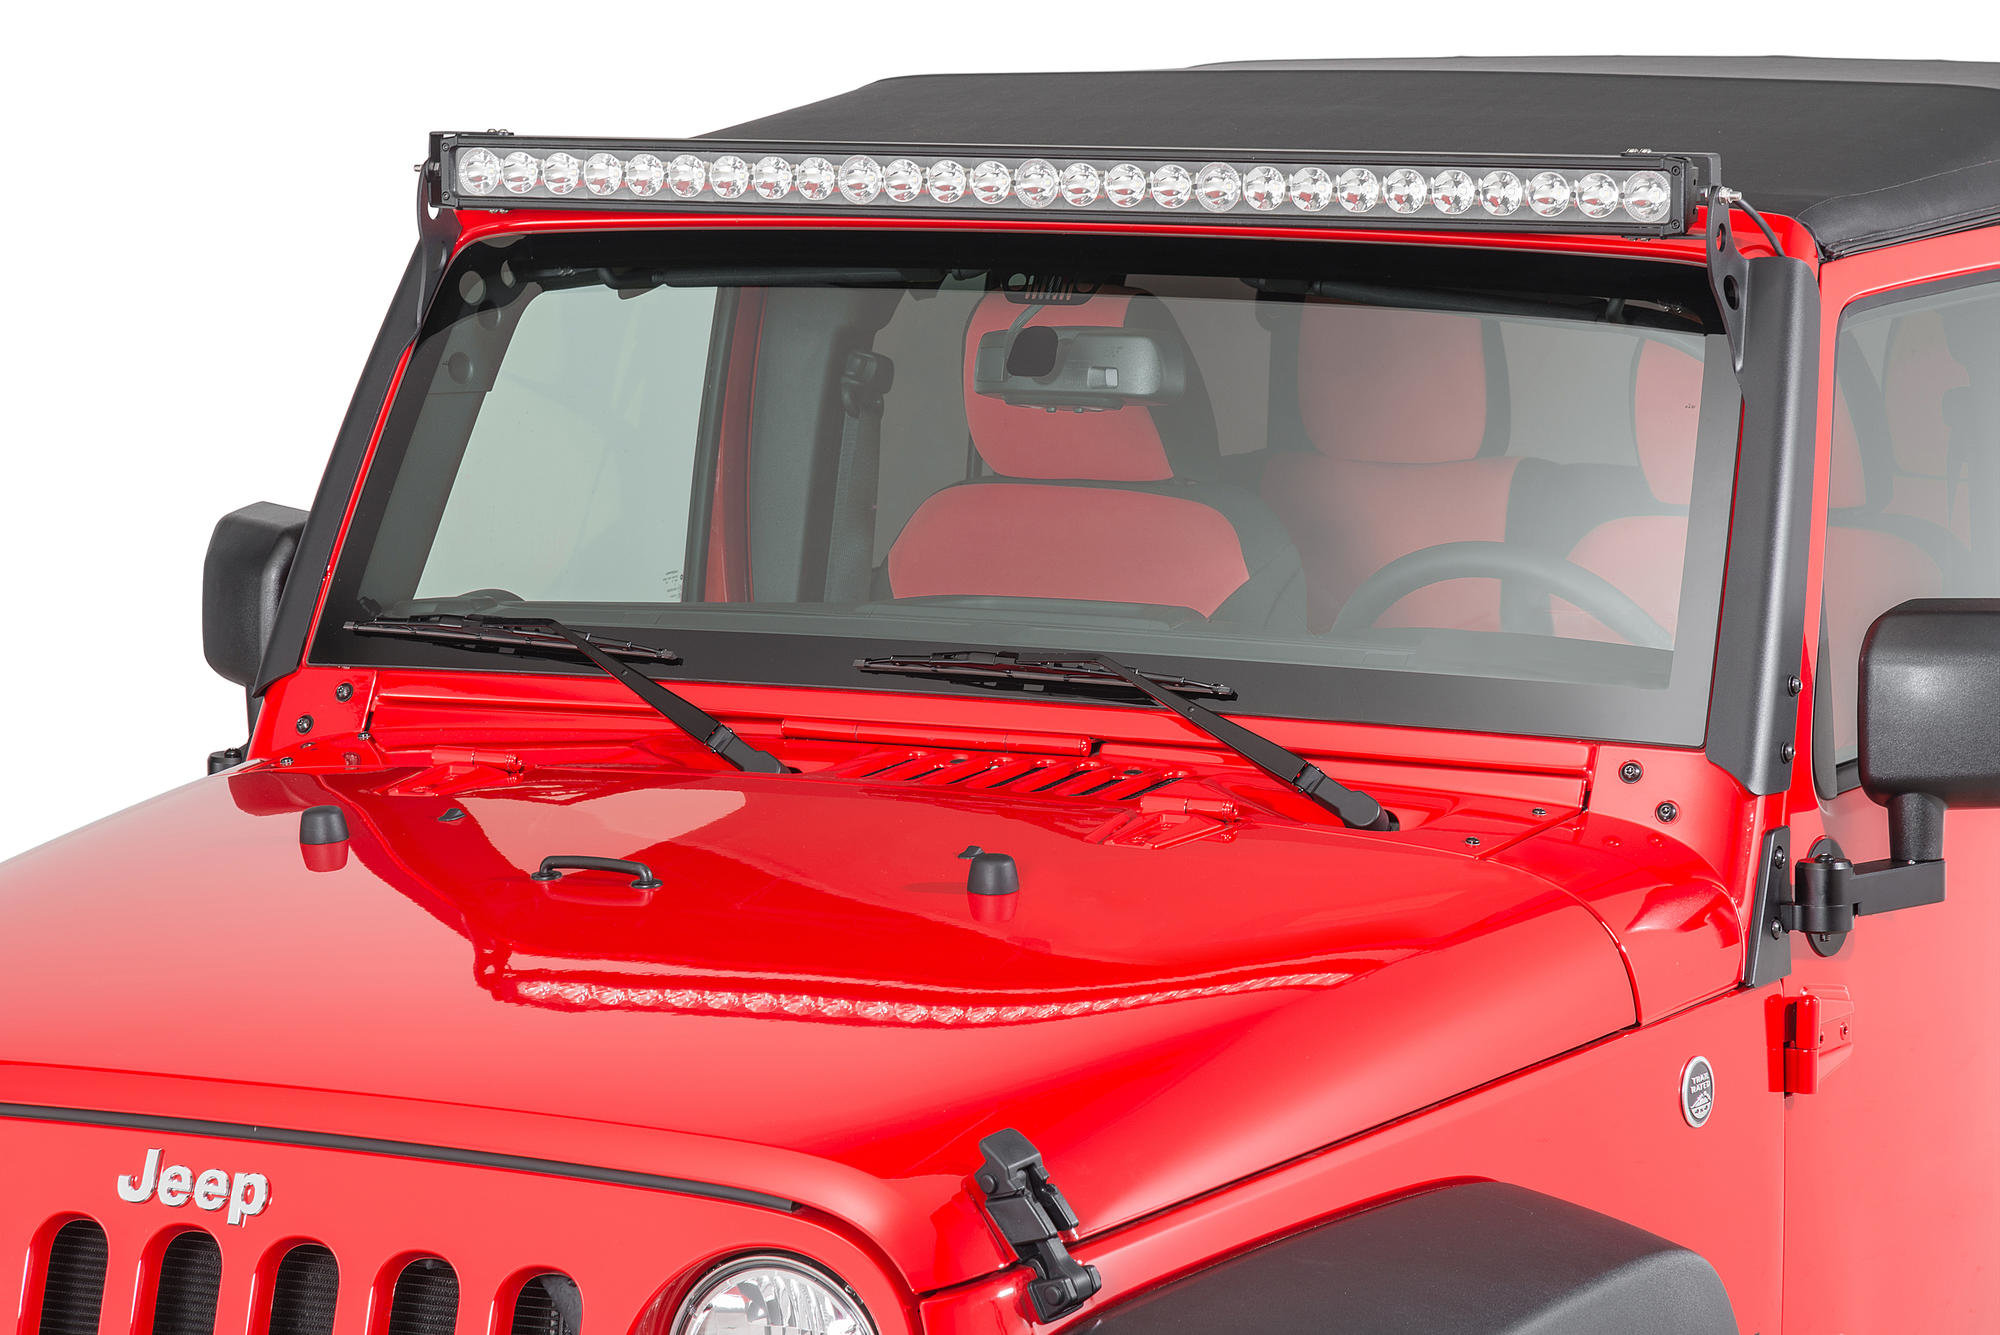
Credit: www.quadratec.com
Mounting The Light Bar
Installing a light bar on your Jeep Cherokee 2 enhances its look. It also boosts visibility during off-road adventures. Proper mounting is crucial for stability and performance. This section guides you through the mounting process. Secure the brackets and align the light bar correctly. You’ll achieve a solid and professional installation.
Securing The Brackets
Begin by choosing the right brackets for your light bar. Ensure they match the size and weight specifications. Firmly attach the brackets to your Jeep’s roof or front bumper. Use high-quality bolts to ensure strength and durability. Double-check each bolt for tightness. Loose brackets can lead to light bar damage. Your light bar must remain secure even on rough terrain.
Aligning The Light Bar
Once the brackets are secure, align the light bar carefully. Center it to ensure even lighting distribution. Use a measuring tape for precise positioning. Adjust the angle based on your driving needs. Proper alignment prevents uneven lighting. It also minimizes glare for other drivers. Verify alignment from different angles. This ensures optimal visibility during your adventures.
Testing The Installation
Once you’ve installed the light bar on your Jeep Cherokee 2, testing the installation is crucial. It ensures everything works correctly and enhances your driving experience. This step includes verifying electrical connections and adjusting the light angle. Both tasks are essential for safety and efficiency.
Verifying Electrical Connections
Start by checking each wire connection. Ensure the wires are secure and properly insulated. Look for any exposed wires or loose connections. Loose wires can lead to malfunctions. Power on the vehicle and switch on the light bar. Confirm that all lights illuminate as expected. If any lights are off, recheck your connections. Faulty connections can drain the battery.
Adjusting Light Angle
Once the electrical connections are verified, focus on the light angle. Proper angle adjustment ensures maximum visibility on the road. Use a wrench to adjust the mounting brackets. Aim the light bar slightly downward. This minimizes glare for oncoming drivers. Adjust the angle until you achieve optimal road coverage. Test by driving on a dark road. Ensure the light covers the road efficiently. Proper adjustment enhances safety during night drives.
Maintenance Tips
Installing a light bar on your Jeep Cherokee 2 can enhance visibility. First, gather tools like wrenches and brackets. Follow the wiring diagram carefully for a successful installation.
Maintaining your Jeep Cherokee 2’s light bar is crucial for ensuring its longevity and performance. Proper maintenance not only keeps your light bar shining brightly but also extends its lifespan, saving you time and money in the long run. Whether you’re an off-road enthusiast or just love the look of a well-lit Jeep, these maintenance tips will help you keep your light bar in top condition.Regular Cleaning
Dust and debris can accumulate on your light bar, reducing its brightness. Make it a habit to clean your light bar regularly with a soft, damp cloth. Avoid using harsh chemicals that can damage the light bar’s surface.Inspect For Damage
Check your light bar for any signs of damage, like cracks or loose connections. A small issue can become a bigger problem if left unchecked. Address these issues immediately to prevent further damage.Check Wiring Connections
Loose or corroded wiring can lead to malfunctioning lights. Regularly inspect the wiring connections for any signs of wear or corrosion. Tighten any loose connections and replace corroded wires to ensure reliable performance.Monitor Power Consumption
Overusing your light bar can drain your Jeep’s battery. Be mindful of the power consumption and avoid using the light bar when not needed. Consider installing a separate switch to control the light bar independently.Protect From Water Damage
Water can seep into the light bar, causing electrical issues. Ensure that your light bar is properly sealed and waterproofed. If you frequently drive through water, check seals regularly for wear and replace if necessary.Upgrade When Necessary
Technology advances quickly, and light bars are no exception. If your light bar is outdated or not performing as expected, consider upgrading to a newer model. Newer models often provide better efficiency and brightness. By following these maintenance tips, you can ensure that your Jeep Cherokee 2’s light bar remains in excellent condition. Regular attention to your light bar will keep your Jeep ready for any adventure, day or night. Are you ready to hit the road with confidence?Frequently Asked Questions
Are Jeep Light Bars Legal?
Jeep light bar legality varies by location. Check local laws and regulations before installation. Some areas restrict use on public roads. Always ensure your light bar complies with vehicle safety standards and is not overly bright or distracting to other drivers.
Can I Wire A Light Bar Directly?
You can wire a light bar directly, but use a relay for safety. Direct wiring risks overheating and damage. Ensure proper wiring techniques and use a fuse to protect the circuit. Consult the light bar’s manual for specific instructions and requirements to prevent electrical issues.
Is Installing A Lightbar Hard?
Installing a lightbar can be straightforward for those with basic DIY skills. Follow the manufacturer’s instructions carefully. Essential tools include screwdrivers, wrenches, and possibly a drill. Ensure a secure connection to the vehicle’s power source. Professional installation is recommended if you’re unsure.
Do You Need A Relay When Installing A Light Bar?
Yes, a relay is recommended for installing a light bar. It ensures proper power distribution and prevents electrical issues. Relays provide stable voltage, protect circuits, and enhance performance. Without a relay, you risk damaging your vehicle’s electrical system and reducing light bar efficiency.
Always follow manufacturer guidelines for installation.
Conclusion
Installing a light bar on your Jeep Cherokee 2 is manageable. Follow the steps outlined, and ensure safety checks. This upgrade can improve your driving visibility. It also adds a stylish look to your vehicle. Take your time and gather all necessary tools.
Double-check connections for best performance. Enjoy the enhanced lighting during your off-road adventures. Experience safer night drives. Remember, practice makes perfect. With these tips, you can complete the installation successfully. Your Jeep is now ready for new adventures. Have fun and drive safely!